This month we share some of our favorite watercolor tips and techniques your kids will love! This article is perfect to practice some base techniques for beginners, adding textures to watercolor painting and stimulating your creativity.
What you will need
 Photo credit: projectswithkids.com
- Painting palette for watercolor paints
- Paintbrushes
- Liquid watercolors or watercolor tubes
- Cold press watercolor paper (140lbs, size 16” x 12”)
- Water containers with water
- Paper towels
- A plastic cover to protect your painting surfaces
- A tray
- Masking liquid
- 90% isopropyl alcohol
- A glass pipette
- Some Salt
- Chopsticks
- Rubber cement pick-up
- Small sponge
- Dipping pen
- Q-tips
Watercolor paints
- Variations of Red
- Oxide or Chromium
- Viridian
- Green
- Blue
- Violet
Watercolor brushes
- Synthetic round brush size 2
- Synthetic round brush size 6
- Angular brush size 10
- Squirrel hair mop brush (1/2” cat’s tongue)
- Synthetic pointed round brush size 12
- Flat brush 1 ¼”, size 30
Preserving white space with masking fluid
Masking fluid preserves the white of a painting. It can create lovely strong highlights, reflected light and help to create interesting small details. Masking fluid is essentially liquid plastic, be careful when mixing and make sure you don’t spill on delegate surfaces.
- Don’t shake the bottle, stir it with a chopstick.
- Don’t use your hairdryer to dry the liquid faster.
- Silicon brushes and dipping pens are perfect tools to apply masking liquid.
- It works great on canvas as well.
- Let your kids write some fun words or their names in masking liquid.
- Let the masking liquid completely dry before applying paint.
- Paint a bright color over the masking liquid and see how it preserves the words.
- When the paint dried you can remove the masking fluid with a rubber cement pick-up.
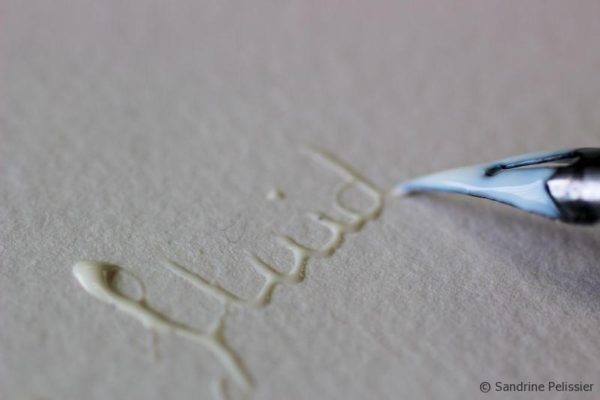
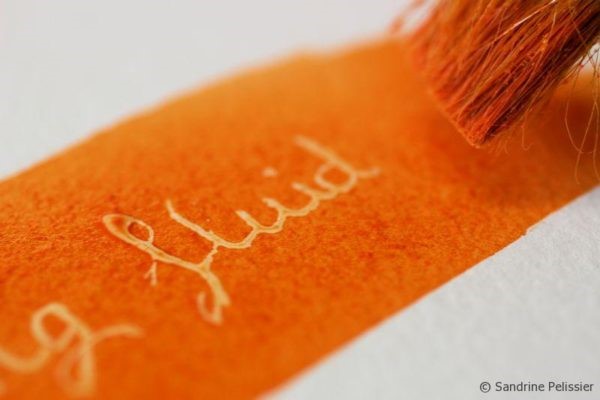
Photo credit: paintingdemos.com
Adding texture to watercolor paintings with alcohol
- Start with high concentrated bright blue wet paint on your surface paper.
- Use a Q-tip, pipette or clean brush to touch rubbing alcohol drops to the paint surface.
- The alcohol causes the paint to repel, pushing it away leaving lighter exposed color.
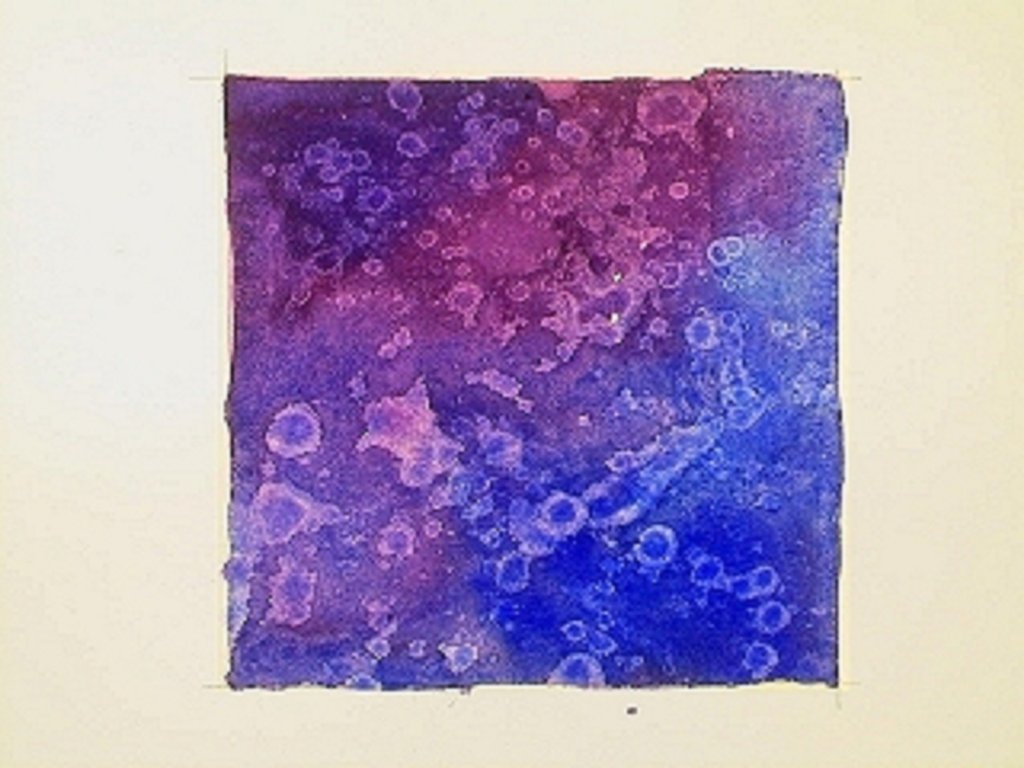 Photo credit: watercolorpainting.com
Adding a sprinkle of salt
- Use blue, red and green paint to create a landscape with flowing red and green hills with blue skies.
- Sprinkle salt over the painting with less salt in the sky and more salt where the green and red flowing hills meet. Add a larger amount of salt on the green hills.
- Wait for the paint to dry completely and use a small sponge to gently rub away the salt from the painting.
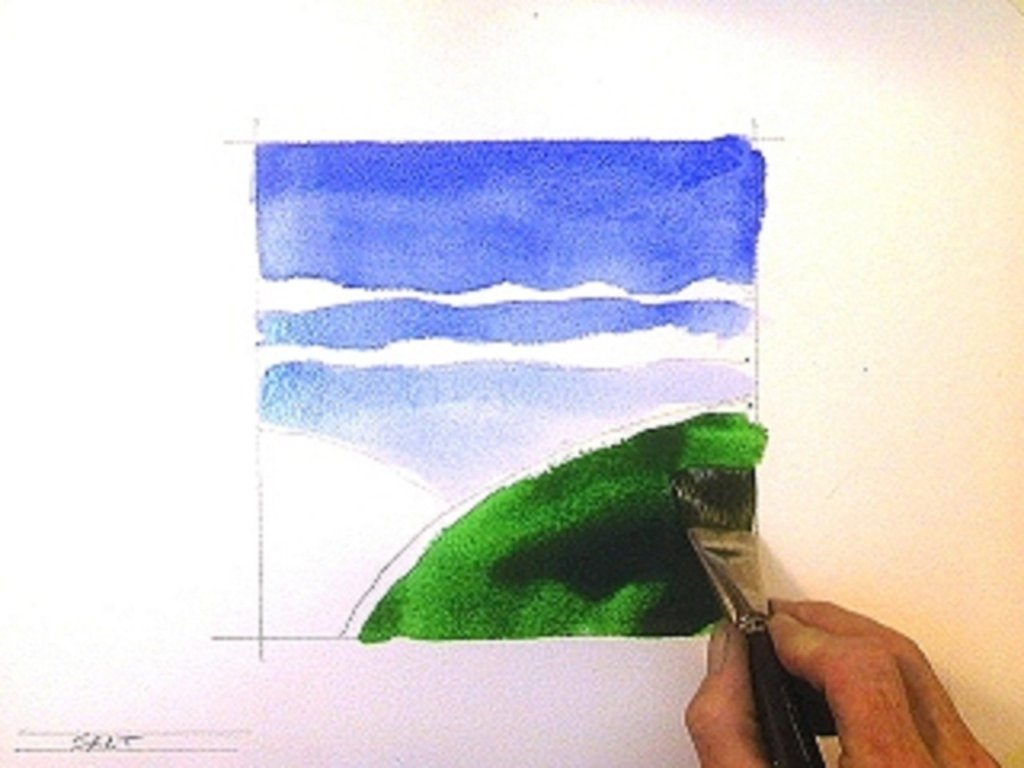
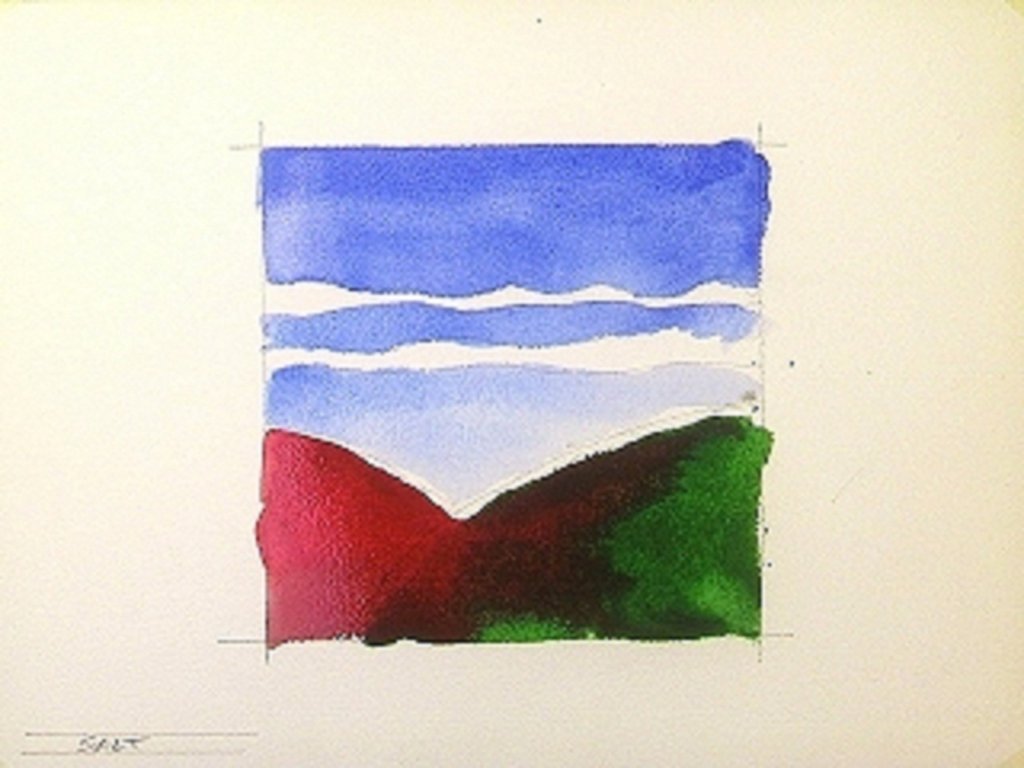
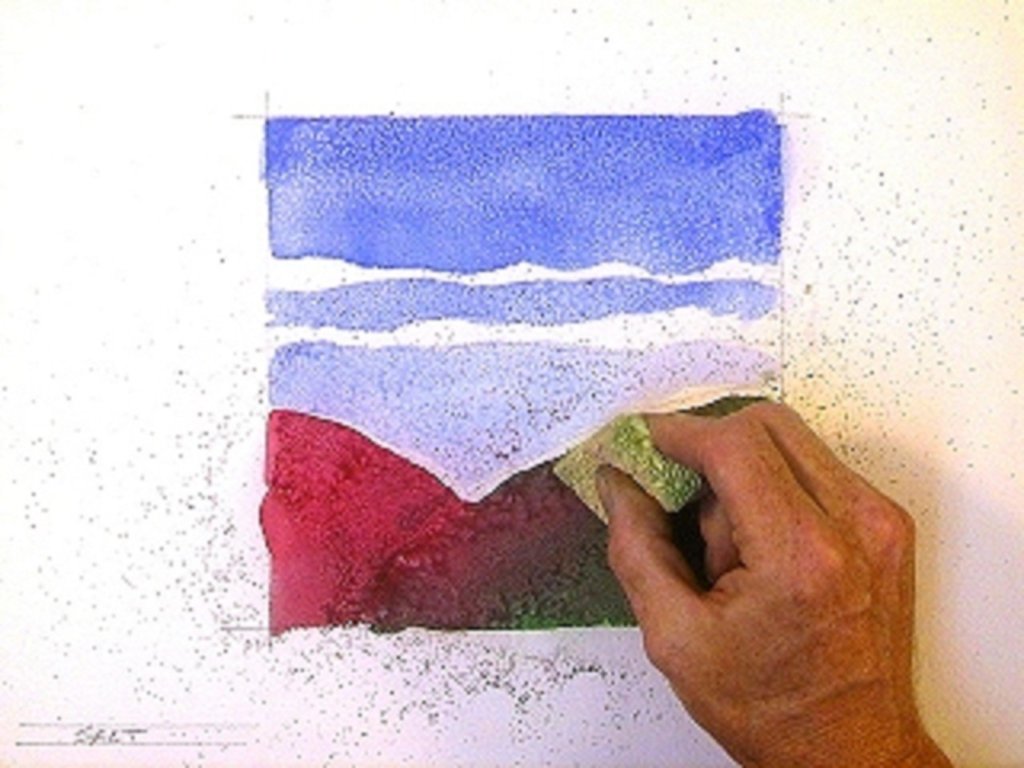
Photo credit: watercolorpainting.com
Use plastic wrap to create interesting shapes
- Add a generous amount of watercolor to paper aiming for uneven lines using blues, greens and brown colors. Use purple spots on the blue and green uneven spots on the brownish colors.
- Press scrunched-up plastic wrap over the top and leave it to dry.
- Remove the plastic wrap once the paint is dried to reveal lovely shapes and lines for a contemporary look.
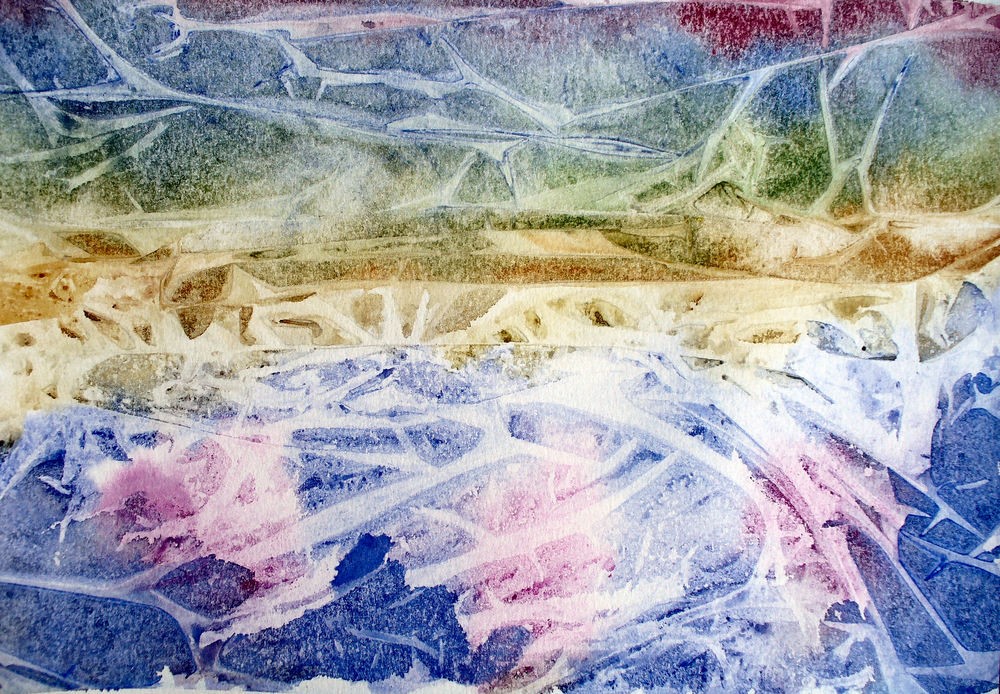 Photo credit: napavalleyartsupplies.com
Oil tie-die effect
- Using a tray under the paper, separately drop watercolor and oil onto the paper using pipettes.
- Let it dry for a couple of hours or ideally overnight for the best tie-dye effect.
 Photo credit: babbledabbledo.com